Category: Software
-

Prettifying AWS S3 Bucket public index list
Sometimes it’s useful to have a index listing on a AWS S3 bucket. Here are some solutions to configure it with nice template. If having a public index list on a S3 Bucket is a good idea or not I’m not saying yay or nay. First set the correct Bucket Policy { “Version”: “2012-10-17”, “Statement”:…
-
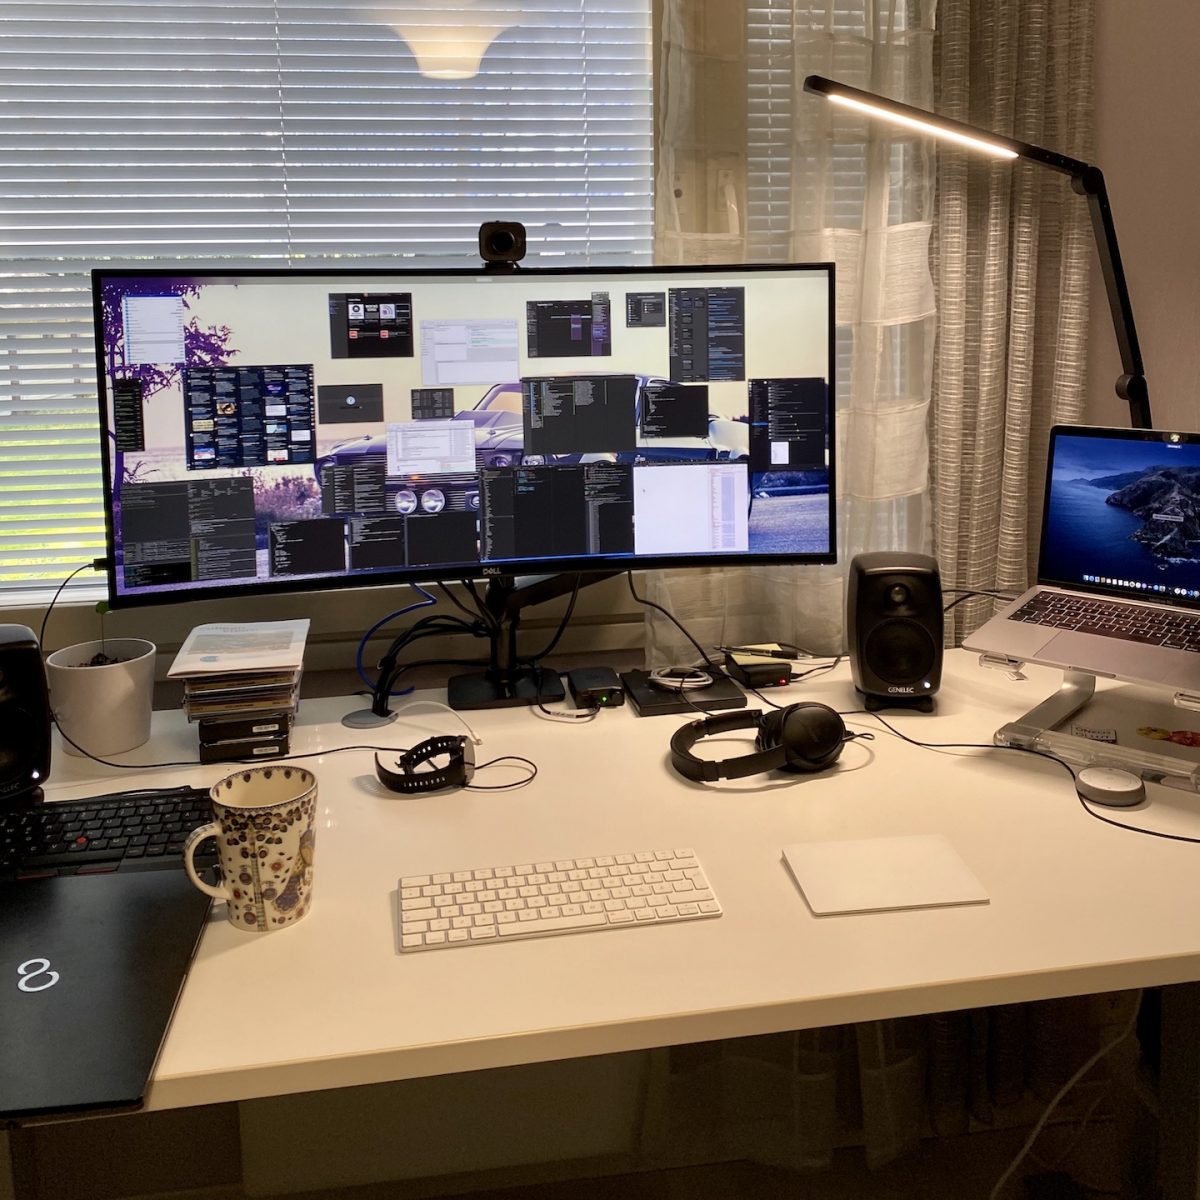
What software and hardware I use
There was a discussion in Koodiklinikka Slack about what software people use and that people have made “/uses” pages for that purpose. And inspired by Wes Bos /uses from “Syntax” Podcast here’s my list. Check my /uses page to see what software and hardware I use for full-stack development in JavaScript, Node.js,… Jatka lukemista →
-

Generating documentation as code with mermaid and PlantUML
Writing documentation is always a task which isn’t much liked and especially with diagrams and flowcharts there’s the problem of which tools to use. One crafty tool is Draw.io with web and desktop editors but what to use if you want to write documentation as a code and see the changes clearly in text format…
-
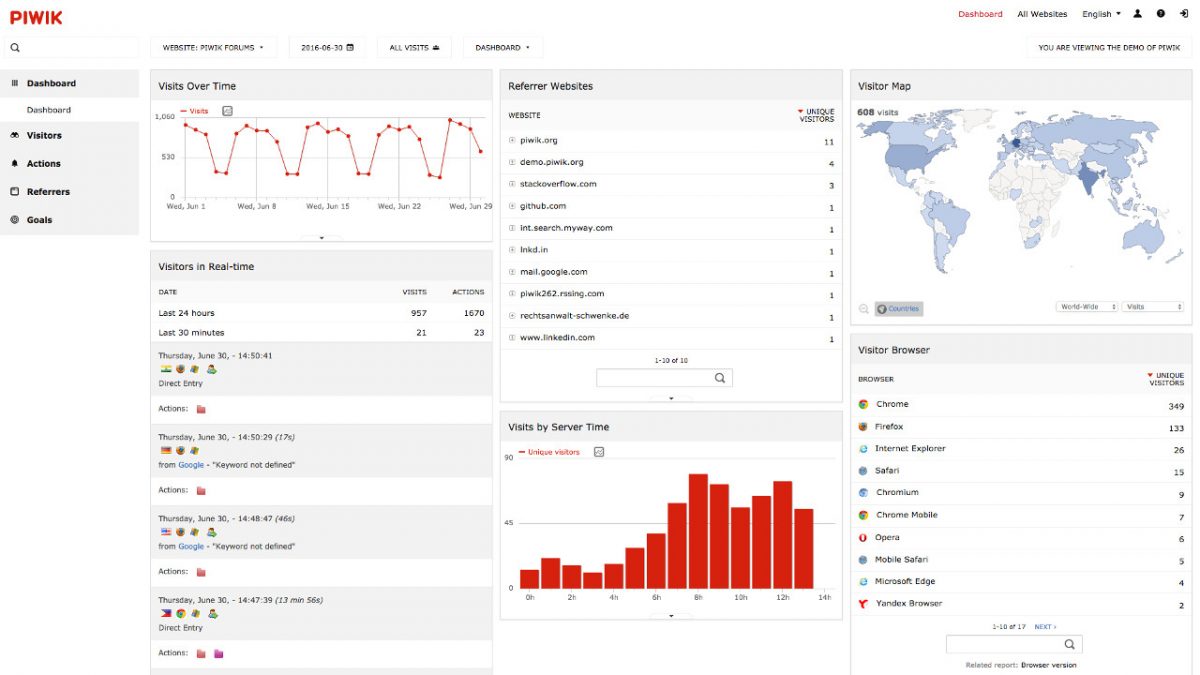
Web analytics with Piwik: keeping control over your own data
Web analytics is one the essential tools for a website and including measuring web traffic and getting information about the number of visitors it can be also used as a tool to assess and improve the effectiveness of a website. The most common way to collect data is to use on-site web analytics, measure a…
-
Starting with WeeChat
I’ve been using IRC for some time and although Irssi has served me well, it’s time to try something different. WeeChat is a modular chat client with support for IRC and the interesting part is that it’s possible to use other interfaces like glowing-bear web frontend. WeeChat is similar to Irssi so switching over shouldn’t…
-
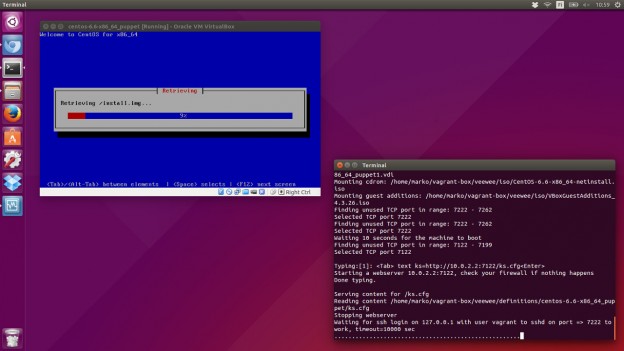
Creating Vagrant Base Box with Veewee
Vagrant is a great tool for creating and configuring lightweight, reproducible, portable virtual machine environments but the first step for using Vagrant, downloading an existing “base box”, raises some questions. E.g. How are these unverified boxes built? So, you might end up building your own base box which is often time consuming and cumbersome.… Jatka…
-
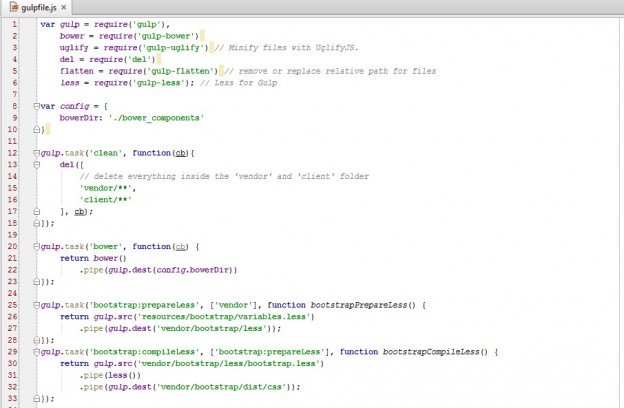
Setting up Bower and Gulp in Windows
Doing things manually is fine once but if you can automate things it’s better. With little tools you can speed up development and reduce recursive mundane tasks such as starting a project or setting up boilerplate code. I recently came across Bower which is a package manager for the web. With Bower you can fetch…
-
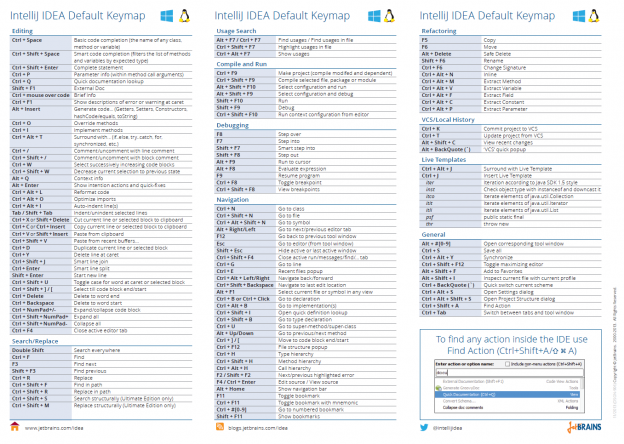
Essential IntelliJ IDEA keyboard shortcuts
Recently I switched from using Eclipse to IntelliJ IDEA as our Java EE application’s front-end was done with JavaScript and the support for front-end technologies in Eclipse is more or less non-existent. The switch for long time Eclipse user wasn’t easy as IDEA works a bit differently but the change was worth it.… Jatka lukemista…
-
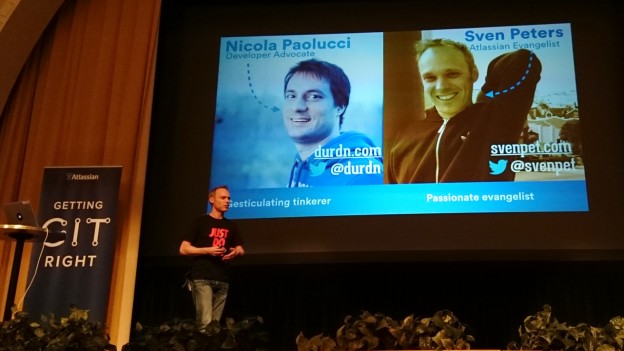
Getting Git Right in Helsinki
Software development is fun if you have tools which work great and support what you’re doing. So it was finally great to get hear Sven Peters talking about better software development in teams as Atlassian’s Getting Git Right landed to Helsinki (24.11.2014). Event about Git and of course about Atlassian’s tools.… Jatka lukemista →
-
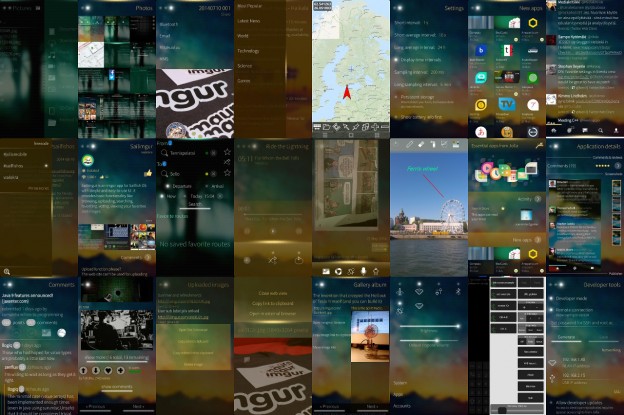
Sailfish OS User Interface design practices
The operating system running on Jolla has different and refreshing approach to user experience than the mainstream mobile operating systems. Sailfish OS is quite new project which also shows in applications’ user interfaces as common practices are not quite established. There are some guidelines and component usage examples how the applications should be built but…