Everyone knows the importance of testing in software development projects so lets jump directly to the topic of how to use Detox for end-to-end testing React Native applications. It’s similar to how you would do end-to-end testing React applications with Cypress like I wrote previously. Testing React Native applications needs a bit more setup especially when running on CI/CD but the benefits of having comprehensive tests is great. This article focuses on using Detox and leaves the setup stuff for the official documentation.
Detox for end-to-end testing
End-to-end testing is widely performed in the web applications using frameworks like Cypress but with mobile applications it’s not as common. There are essentially couple of frameworks for end-to-end testing mobile applications: Detox and Appium.
This article covers how to use Detox which uses grey-box-testing by monitoring the state of the app to tackle the problem of flaky tests. The main difference between Appium and Detox is that Appium uses black-box-testing, meaning that it doesn’t monitor the internal state of the app. There’s a good article of comparing Detox and Appium with example projects.
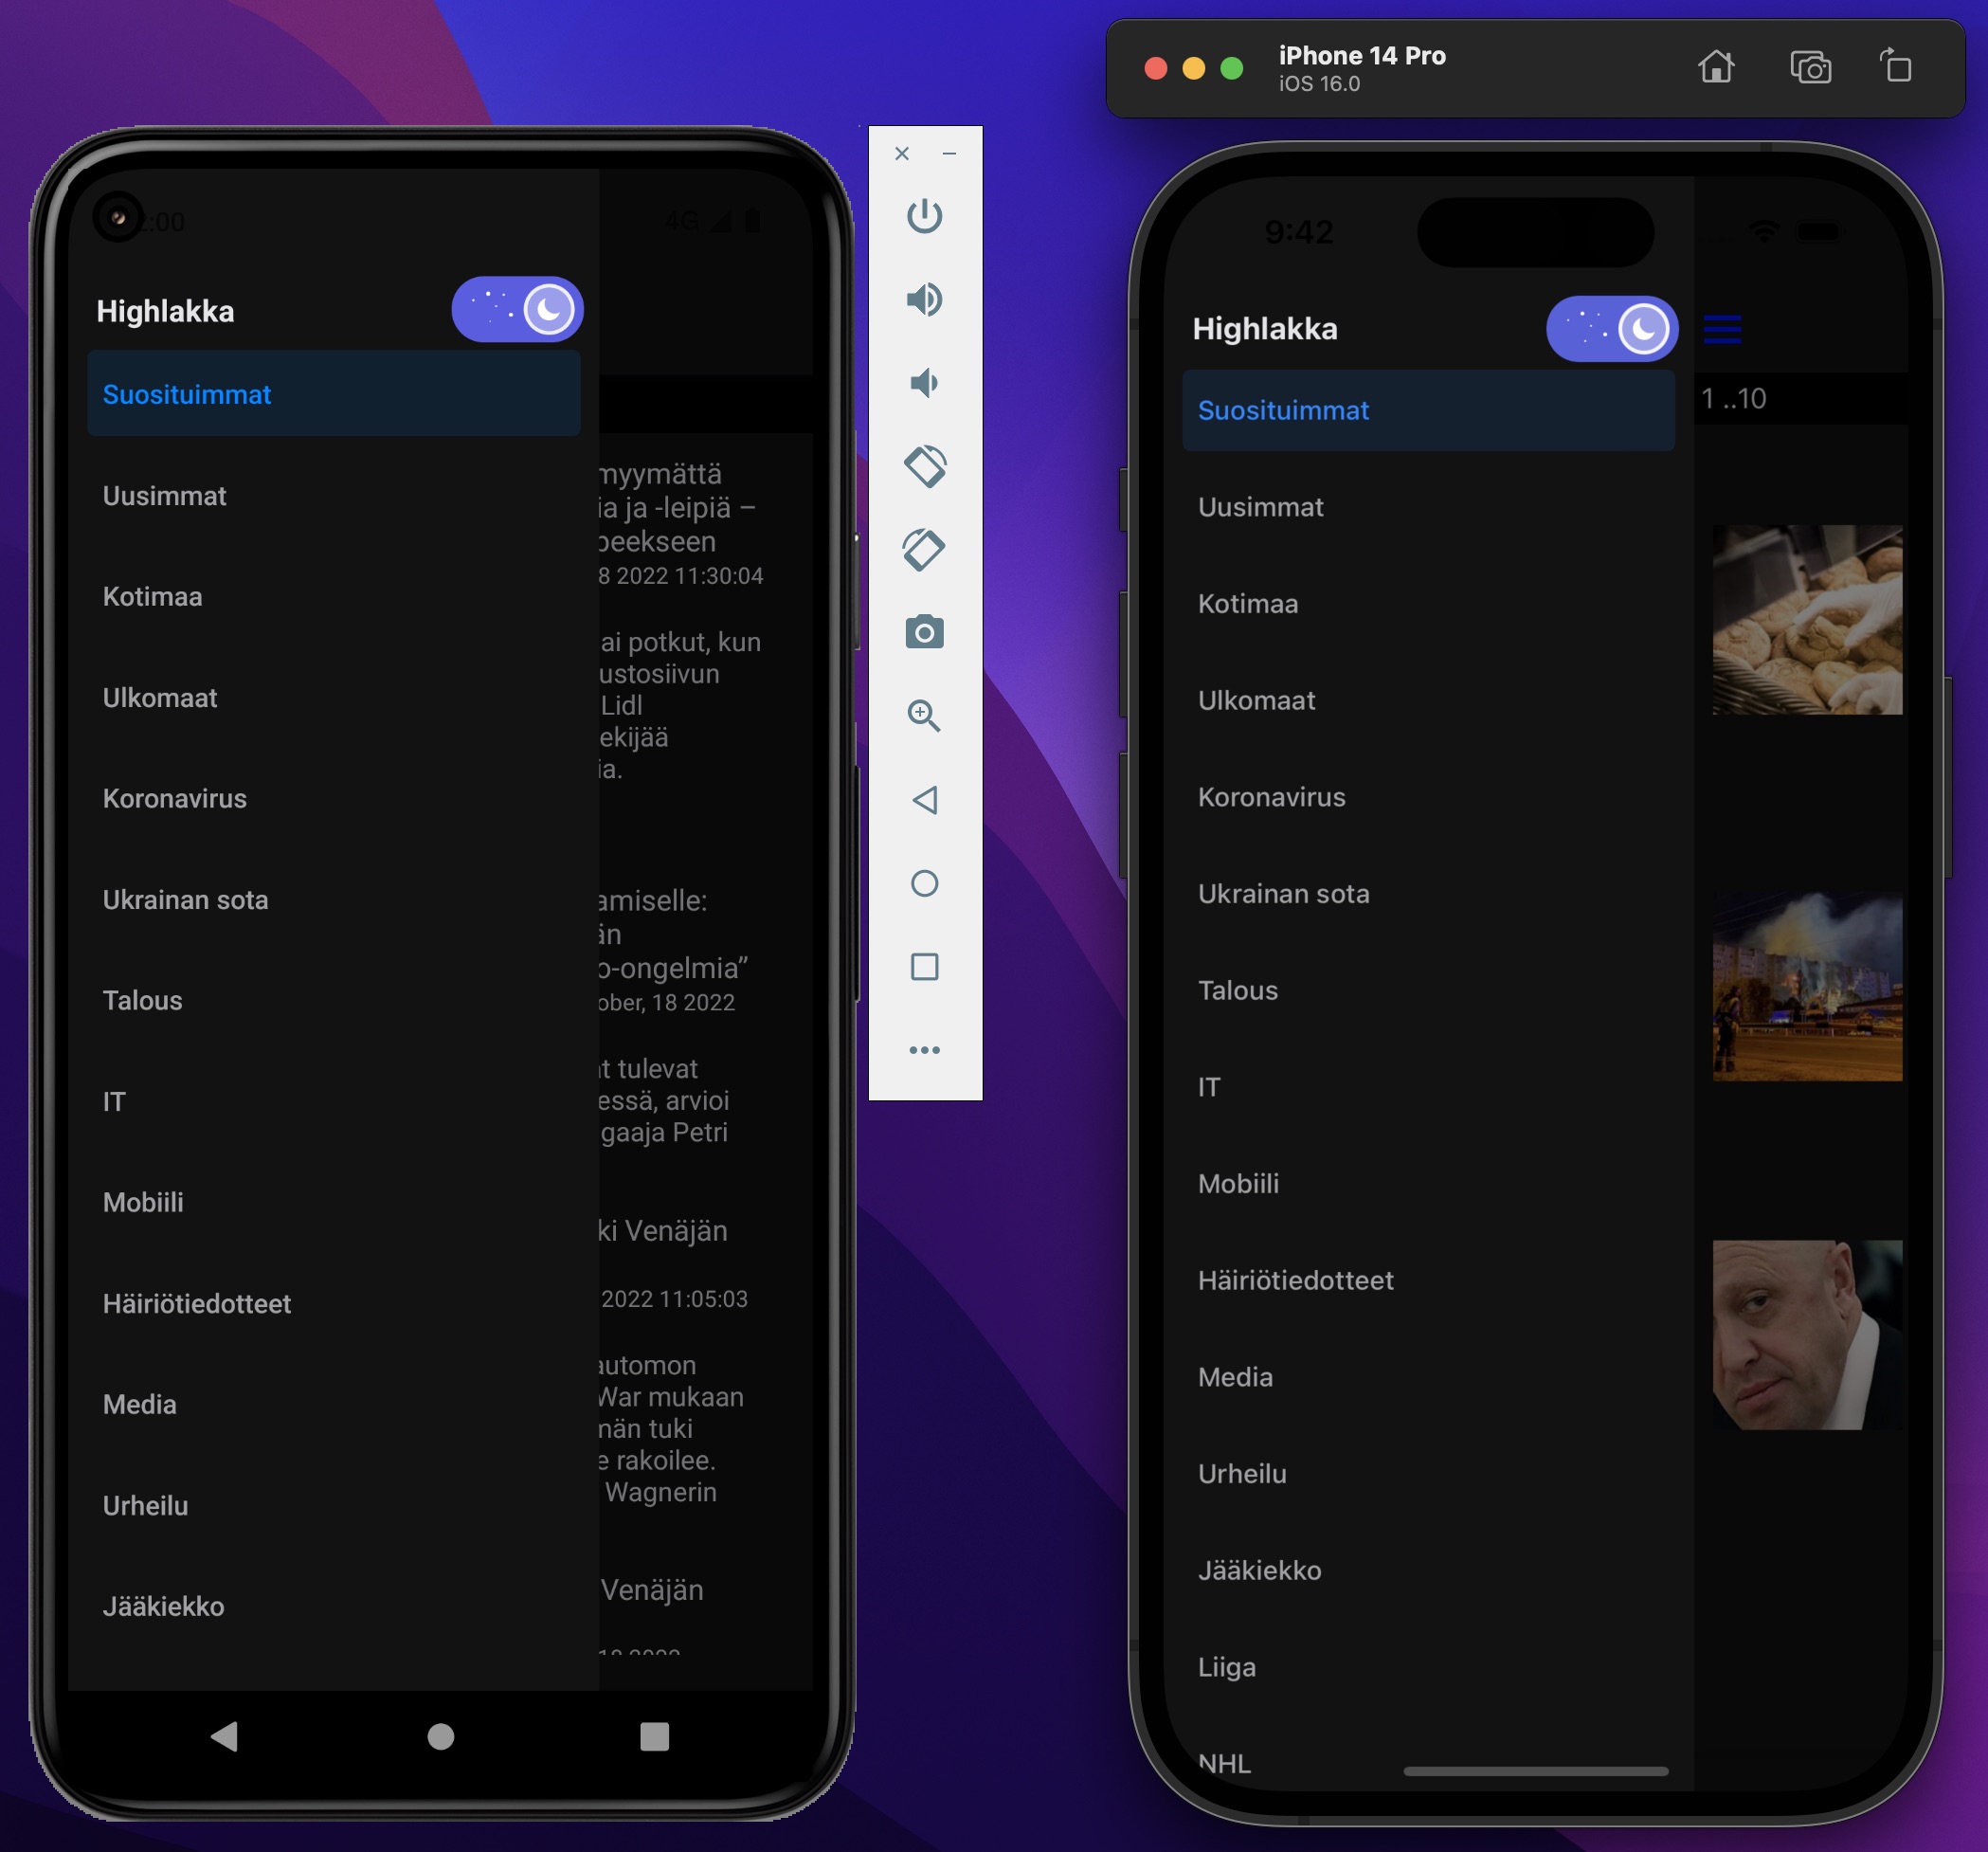
I’ll use my personal Hailakka project as an example of setting up Detox for end-to-end testing and for visual regression testing. The app is based on my native Highkara news reader but done in React Native and is still missing features like localization.
Setup Detox for React Native project
Starting with Detox e2e and React Native gets you through setting Detox up in your project, one step at a time both for Android and iOS.
Detox provides an example project for React Native which shows a starting point for your own e2e tests. It’s good to note that support for Mocha is dropped on upcoming Detox 20.
Now you just need to write simple e2e tests for starters and build your app and run Detox tests. Detox has good documentation to get you through the steps and has some troubleshooting tips you might come across especially with Android.
Detox with Expo
Using Detox with Expo projects should work quite nicely without any helper libraries (although some older blog posts suggests so). You can even run e2e tests on EAS builds. For practice I added example of using Detox to my personal Hailakka project with managed workflow.
The changes compared to non-Expo project I followed the Detox on EAS build documentation and added the @config-plugins/detox for a managed project. Also to get the native projects for Detox I ran the npx expo prebuild script which practically configured both iOS and especially Android projects to work with Detox!. You can see my detox.config.js from my GitHub.
Running Detox end-to-end tests
With iOS related tests on simulator I got everything working pretty smoothly but on Android I had some problems to troubleshoot with the help of Detox documentation. Using the FORCE_BUNDLING=true environment variable helped to get rid of the Metro bundler when running Detox as Android emulator had problems connecting to it. Before that I got “unable to load script from assets index.android.bundle” error and I had to use adb reverse tcp:8081 tcp:8081 for proxying the connection.
For running the Detox tests I created the following npm scripts.
"e2e:ios": "npm run e2e:ios:build && npm run e2e:ios:run",
"e2e:ios:build": "detox build --configuration ios.development",
"e2e:ios:run": "detox test --configuration ios.development",
"e2e:android": "npm run e2e:android:build && npm run e2e:android:run",
"e2e:android:build": "detox build --configuration android.development",
"e2e:android:run": "detox test --configuration android.development",
Note on running on Android: Use system images without Google services (AOSP emulators). Detox “strongly recommend to strictly use this flavor of emulators for running automation/Detox tests.”.
Also remember to change the Java SDK to 11. You can do it with e.g. asdf.
brew reinstall asdf
asdf plugin add java
asdf list-all java
asdf install java zulu-11.60.19
asdf global java zulu-11.60.19
If you need to debug your Detox tests on Android and run Metro bundler on the side you might need to start the metro builder (react-native start) manually. Also when using concurrently the arguments need to be passed through to desired script, e.g. "e2e:android:run": "concurrently --passthrough-arguments 'npx react-native start' 'npm run e2e:android:test -- {@}' --",.
Running same tests on iOS and Android have some differences and it helps to use “–loglevel=verbose” parameter to debug component hierarchy. For example opening the sidebar navigation from icon button failed on Android but worked on iOS. The issue was that I was using Android system image with Google’s services and not the AOSP version.
Setting locale for Detox tests
Detox provides launchApp command which allows you to accept permissions and set language and locale.
For example in beforeAll you can set the locale for and accept the permissions for notifications as we can’t accept it when the app runs and the modal is shown.
beforeAll(async () => {
    await device.launchApp({
        languageAndLocale: { language: 'en', locale: 'en-US' },
        newInstance: true,
        permissions: { notifications: 'YES' }, // This will cause the app to terminate before permissions are applied.
    });
});
But unfortunately setting the languageAndLocale works only on iOS. For Android you need a lot more steps to achieve that. Fortunately I’m not alone and “Changing Android 10 or higher device Locale programatically” covers just what I needed. You can use the Appium Settings application and get it to automatically installed to the emulator by using “utilBinaryPaths” as shown in Detox documentation.
You can run the needed adb shell commands with execSync when setting up the tests:
import { execSync } from 'child_process';

// Set permissions for Settings app for changing locale
execSync('adb shell pm grant io.appium.settings android.permission.CHANGE_CONFIGURATION');
// Set lang and country
execSync(`adb shell am broadcast -a io.appium.settings.locale -n io.appium.settings/.receivers.LocaleSettingReceiver --es lang fi --es country FI`
Tips for writing Detox tests
People at Siili have written about Detox testing native mobile apps which provides good practices for testing.
- Start each scenario from a predictable application state. Using beforeAll, beforeEach, await device.reloadReactNative() methods can help with that
- Add testIDs to the elements you are going to use in the tests,
- Keep all locators in one place (changing them in the future will not cost too much time)
- Create helpers method to make your code more legible and easily maintainable
Visual regression testing React Native apps with Detox
Now we have achieved end-to-end tests with Detox but we can do more. By harnessing Detox for visual regression testing we can “verify the proper visual structure and layout of elements appearing on the device’s screen”. Detox supports taking screenshots, which can be used for visual regression testing purposes as they describe in their documentation.
- Taking a screenshot, once, and manually verifying it, visually.
- Storing it as an e2e-test asset (i.e. the snapshot).
- Using it as the point-of-reference for comparison against screenshots taken in consequent tests, from that point on.
They write that “more practical way of doing this, is by utilizing more advanced 3rd-party image snapshotting & comparison tools such as Applitools.” And here is were we come into the good article of how to do Visual regression testing with Detox. In short, we use Jest Image Snapshot and recommendations using SSIM Comparison.
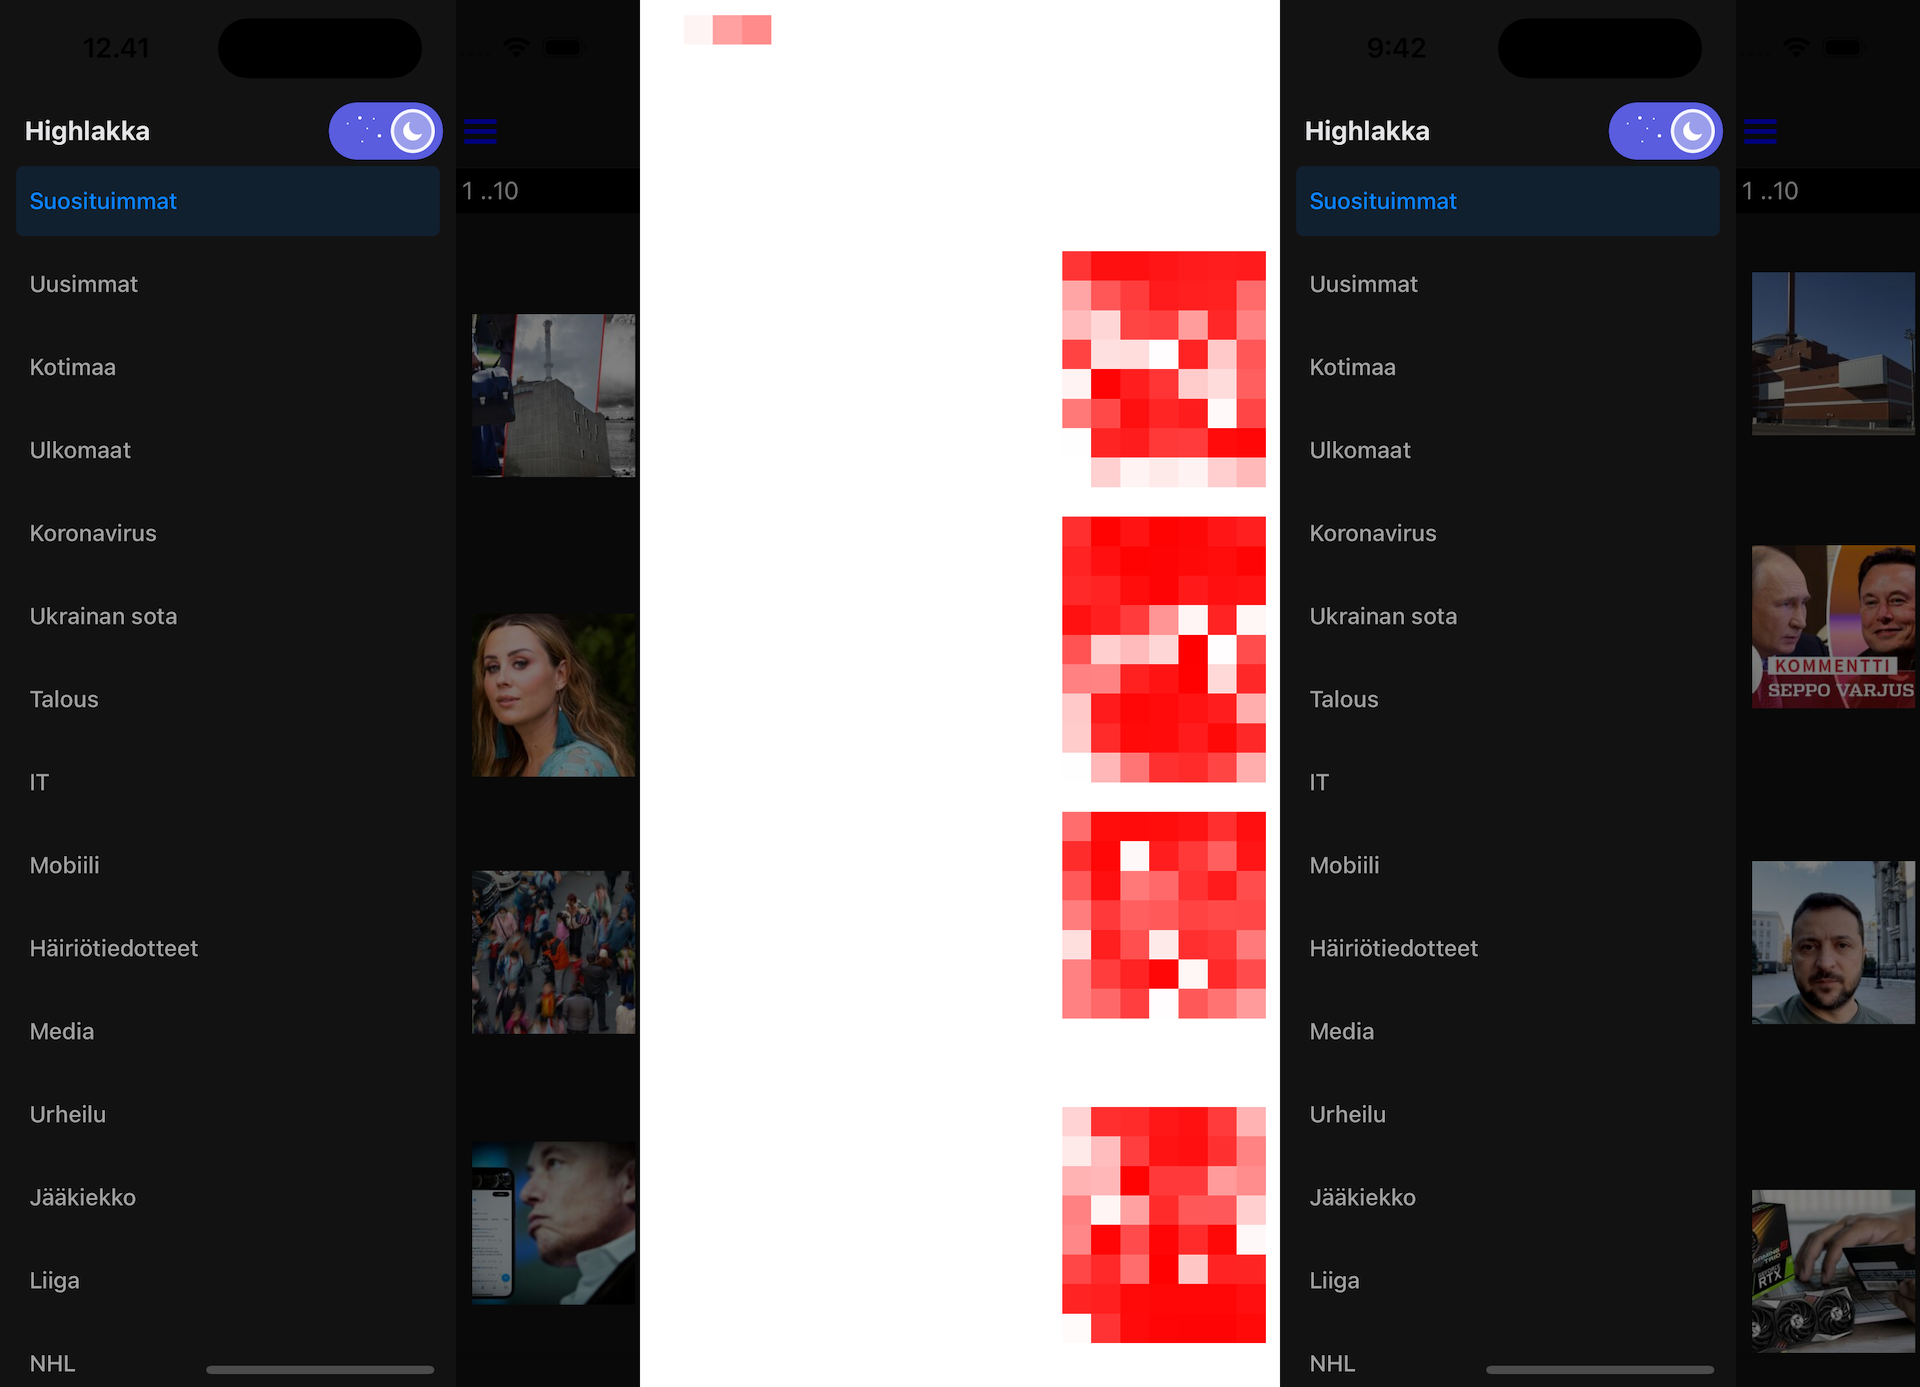
jest-image-snapshot generates an image which shows thee baseline and how it differs with current state with red color.
To aid writing tests, use some convenience methods by extending Jest expect and automatically taking a screenshot if the method is invoked; consider the platform and device name when doing the comparisons.
Helper methods in setup.ts extending Jest expect, adapted to TypeScript from Visual regression testing React Native apps with Detox and Jest:
import { device } from 'detox';
import fs from 'fs';
import { configureToMatchImageSnapshot } from 'jest-image-snapshot';
import path from 'path';
const jestExpect = (global as any).expect;

const kebabCase = (str: string) =>
    str.match(/[A-Z]{2,}(?=[A-Z][a-z]+[0-9]*|\b)|[A-Z]?[a-z]+[0-9]*|[A-Z]|[0-9]+/g)!.join('-').toLowerCase();

const toMatchImage = configureToMatchImageSnapshot({
    comparisonMethod: 'ssim',
    failureThreshold: 0.01, // fail if there is more than a 1% difference
    failureThresholdType: 'percent',
});

jestExpect.extend({ toMatchImage });

jestExpect.extend({
    async toMatchImageSnapshot(
        // a matcher is a method, it has access to Jest context on `this`
        this: jest.MatcherContext,
        screenName: string
    ) {
        const { name } = device;
        const deviceName = name.split(' ').slice(1).join('').replace('(','').replace(')', '');
        const language = languageAndLocale();
        const SNAPSHOTS_DIR = `__image_snapshots__/${language.code}/${deviceName}`;
        const { testPath } = this;
        const customSnapshotsDir = path.join(path.dirname(testPath || ''),
SNAPSHOTS_DIR);
        const customSnapshotIdentifier = kebabCase(`${screenName}`);
        const tempPath = await device.takeScreenshot(screenName);
        const image = fs.readFileSync(tempPath);
        jestExpect(image).toMatchImage({ customSnapshotIdentifier, customSnapshotsDir });
        return { message: () => 'screenshot matches', pass: true };
    },
});
Writing an expectation for an image comparison then becomes as simple as (HomeScreen.e2e.ts):
import { by, element, expect } from 'detox';

const jestExpect = (global as any).expect;

describe('Home Screen', () => {
  it('should show section header', async () => {
    await expect(element(by.id('navigation-container-view'))).toBeVisible();

    await jestExpect('Home Screen').toMatchImageSnapshot();
  });
});
You should also put the device into demo mode by freezing the irrelevant, volatile elements (like time, network information etc.). The helper.ts might look like:
import { execSync } from 'child_process';
import { device } from 'detox';

export const setDemoMode = async () => {
    if (device.getPlatform() === 'ios') {
        await (device as any).setStatusBar({
            batteryLevel: '100',
            batteryState: 'charged',
            cellularBars: '4',
            cellularMode: 'active',
            dataNetwork: 'wifi',
            time: '9:42',
            wifiBars: '3',
        });
    } else {
        // enter demo mode
        execSync('adb shell settings put global sysui_demo_allowed 1');
        // display time 12:00
        execSync('adb shell am broadcast -a com.android.systemui.demo -e command clock -e hhmm 1200');
        // Display full mobile data with 4g type and no wifi
        execSync(
            'adb shell am broadcast -a com.android.systemui.demo -e command network -e mobile show -e level 4 -e datatype 4g -e wifi true'
        );
        // Hide notifications
        execSync('adb shell am broadcast -a com.android.systemui.demo -e command notifications -e visible false');
        // Show full battery but not in charging state
        execSync(
            'adb shell am broadcast -a com.android.systemui.demo -e command battery -e plugged false -e level 100'
        );
    }
};
And as your application changes you may want to add some script to update the snapshots to you package.json
"e2e:ios:refresh": "npm run e2e:ios:build && npm run e2e:ios:run -- --updateSnapshot",
"e2e:android:refresh": "npm run e2e:android:build && npm run e2e:android:run -- --updateSnapshot",
Now you can just enjoy your end-to-end tests taking care that the application looks and works like you want it to after changes. And wait for React Native Owl to mature for getting out-of-the box visual regression testing.
The visual regression testing part of using Detox was for my case more of a theoretical practice than a real use case. As the visual regression testing compares current state to baseline images but with my personal is news reader with changing news it isn’t feasible at it’s current state.
Leave a Reply to Running Detox end-to-end tests on CI – Rule of Tech Cancel reply